Silencing Windows
Silencing Windows are used to create a time window for maintenance or planned outages by defining times when Alerts are temporarily suppressed or “silenced.” Alerts can occur both on the Host level (CPUs, Memory, etc.) and the Instance level (specific to a database). Silencing Windows are applied to resources and can be applied at either or both of the Host and Instance levels.
Silencing Windows can be created as one-time or recurring.
- The default time range for silencing windows is one month ago through one month in the future. This can be customized using the date picker in the top-right corner.
- The view can be further customized with Filters on Resources, State, and/or Tag.
Silencing Windows Card
This card displays the following information for all Silencing Windows meeting the currently configured filters.
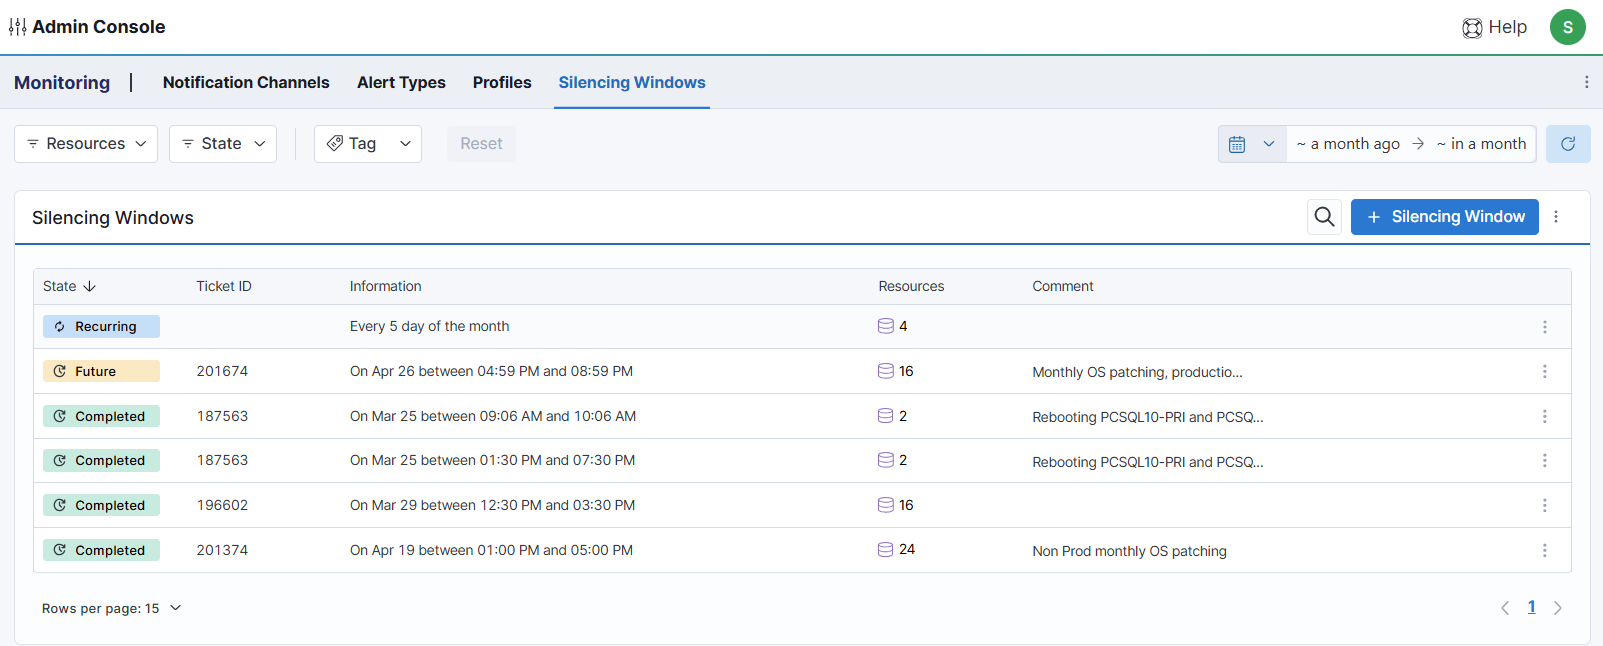
Information is displayed in a table format with sortable columns, as follows:
-
The State column displays whether the Silencing Window is Active, Recurring, set to run in the Future, or has Completed.
-
The Ticket ID column references a planned Maintenance ticket, if any, for that Silencing Window.
-
The Information column displays the timing of the Silencing Window.
-
The Resources column displays the number of resources associated with the Silencing Window.
-
The Comments column displays a description of or reason for the modification, and any other relevant information.
-
Hover the cursor over the column headings to sort the list in ascending or descending order.
Existing Silencing Windows can be edited, extended, closed, or deleted, as follows:
Create or Edit a Silencing Window
To create a new Silencing Window, click the [+ Silencing Window] button in the top-right corner of the card.
To edit an existing Silencing Window, click the 3-DOT icon at the right of the row and select Edit. The Edit Silencing Window flyout will be displayed. Silencing Window for a specific time interval can be examined by Settings and by Resources, as follows:
Settings
The Settings Tab allows the creation or editing of the timing rules and documentation for the silencing window. Required fields are indicated with a red asterisk. Edit the following fields as necessary and click the Save button to update the Silencing Window settings. The Settings for the Silencing Window are:
- Ticket ID allows the association of a ticket number with the Silencing Window.
- The [Make recurring] / [Make one-time] button toggles between a one-time and a recurring window.
- This will add or hide some of the below:
- Time Zone sets the Time Zone associated with the Silencing Window.
- Start Date sets the Start Date for the Silencing Window.
- Start Time sets the Start Time for the Silencing Window.
- End Time displays the set End Time for the Silencing Window.
- Repeat Every allows the Silencing Window to be set as Recurring on a daily, weekly, or monthly basis.
- End Date allows setting an End Date for the Silencing Window.
- Comment allows the entry of a description of the reason for the modification, and any other relevant information.
Resources
The Resources tab allows the selection of resources to which the Silencing Window will be applied. It is searchable, and filterable by Tag.
The list is presented by Host names or [NO HOST] for instances without a monitored host.
Resources are presented in a tabular format with the following columns:
- The Checkbox allows selection of that resource, or all resources if the header row checkbox is selected.
- The Name column displays the Host and Instance names.
- The Type column displays the Resource type (Host or Instance).
- Expanded View Only
- The Tags column displays the Tags associated with that resource.
- Expanded View Only
- At the end of each row is a [>] button that allows expansion of that resource to show Host (if applicable) and Instance child rows.
Once the Settings and Resources tabs are configured, click [Save] to create the Silencing Window or commit the changes.