Installing WISdom
Overview
The WISdom Data Collector is the bridge between your SQL Server environment and the WISdom platform. Once installed, it securely gathers performance metrics, configuration data, and query statistics from your monitored instances and transmits them to WISdom for analysis and reporting.
This guide walks you through the complete installation process from start to finish. The installation happens in two phases:
| Phase | What Happens | Result |
|---|---|---|
| Phase 1 | Shell Installation — Downloads and installs the WISdom Collector framework via a standard Windows setup wizard. | Two Windows services and the Fortified\WISdom directory are created on the host machine. |
| Phase 2 | Agent Configuration — Connects the Collector to your WISdom tenant using a registration key and a service account. | The Data Collector downloads the latest agent files, configures its services, and connects to your WISdom environment. |
Before You Begin
Before starting the installation, make sure your environment meets all system requirements. This includes network access, firewall port configurations, service account permissions, and the correct versions of Windows and .NET.
Review the full requirements here: WISdom Installation Requirements
Note: You will need admin rights on the WISdom host machine to run the installer. Make sure your service account and credentials are ready before starting Phase 2.
Validate that you have a WISdom User Account with Administrator privileges.
Phase 1: Shell Installation
Download the installer from WISdom and run the Windows Setup Wizard to install the Collector framework.
Step 1: Download the Installer
Start by downloading the WISdom Data Collector installer directly from the WISdom platform.
- Log in to WISdom at https://app.fortifiedwisdom.com.
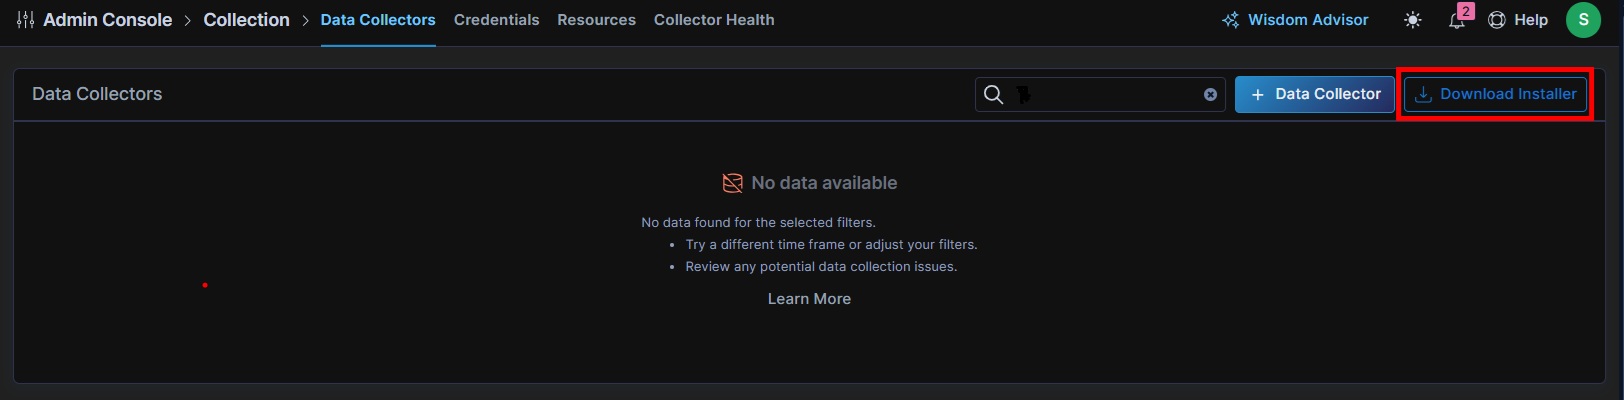
- Navigate to Admin Console > Collection > Data Collectors.
- Click the Download Installer button in the upper-right corner of the page.
- Save the installer file to a location on your WISdom host machine.
Step 2: Launch the Setup Wizard
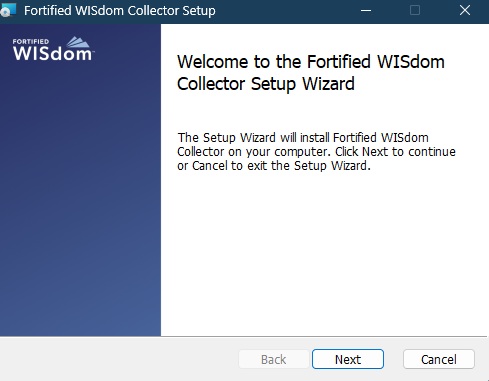
- Right-click the downloaded installer file and select Run as administrator.
- The Fortified WISdom Collector Setup Wizard will open. Click Next to continue.
Step 3: Accept the License Agreement
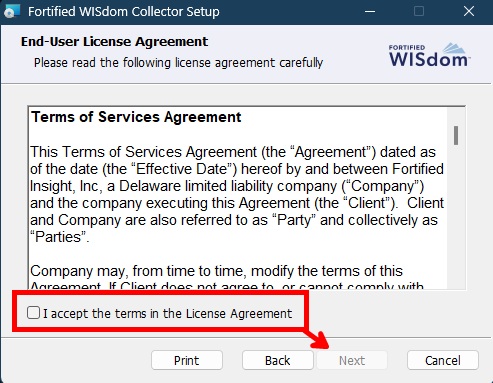
Read through the Terms of Service Agreement. When you are ready to continue:
- Check the box next to I accept the terms in the License Agreement.
- Click Next.
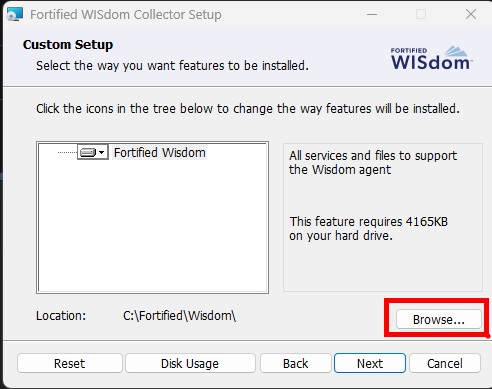
Step 4: Set the Installation Path
The Custom Setup screen shows where WISdom will be installed. The default path is either, depending whether a D: drive exists:
C:\Fortified\Wisdom\
D:\Fortified\Wisdom\
You can leave this as the default unless your organization requires a different drive or path.
- To change the path, click Browse... and select your preferred location.
- Click Next when you are ready to continue.
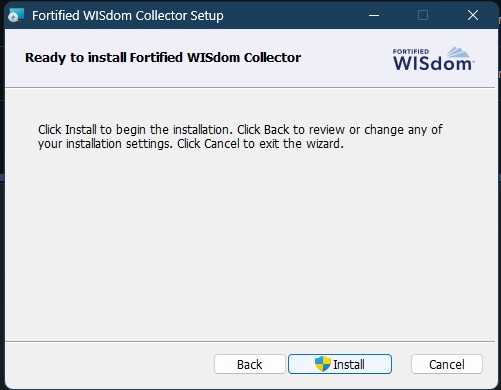
Step 5: Confirm and Install
You are now ready to install. This screen is your last chance to review or change your settings before installation begins.
- Click Back if you need to change any settings, or click Install to begin.
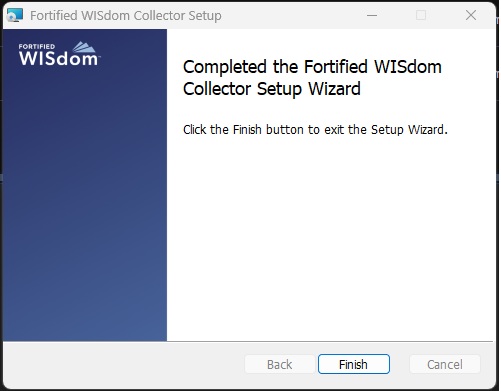
Step 6: Complete Phase 1
When the wizard finishes, you will see the completion screen. At this point, Phase 1 is done — the WISdom Collector framework, two Windows services, and the Fortified\WISdom directory structure have been created on the host machine.
- Click Finish to close the Setup Wizard. Phase 2 will launch automatically.
Clicking finish should cause the next phase of the installation to automatically run. If not, open File Explorer, navigate to C:\Fortified\Wisdom\AgentUI\, and double-click WisdomInstallUi.exe to start it manually.
Phase 2: Agent Configuration
Register your Data Collector in WISdom, generate a registration key, and connect the Collector to your environment.
Phase 2 links the WISdom Collector you just installed to your WISdom tenant. You will generate a registration key in the WISdom portal, then enter that key along with your service account credentials into the Data Collector Installer.
Step 7: The Data Collector Installer
After Phase 1 completes, the WISdom Data Collector Installer opens automatically. You will see a form with two sections:
- Registration Key — a unique key generated from your WISdom portal (you will copy this in the next steps).
- WISdom Service Credentials — the Windows service account (
Domain\Accountformat) that the Collector will run under.
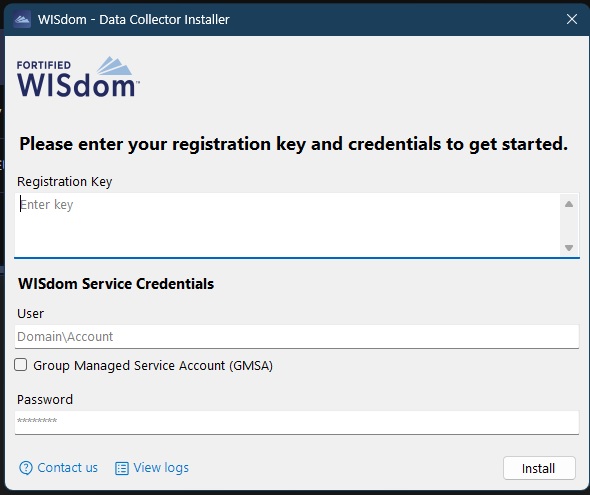
Tip: Keep this installer window open and available. You will switch between it and the WISdom portal to copy the registration key.
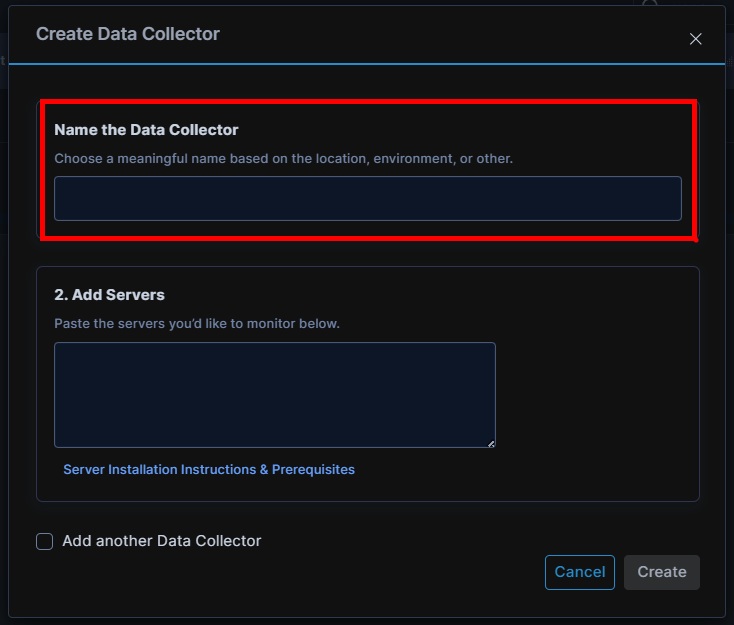
Step 8: Create a Data Collector in WISdom
Before you can register the Collector, you need to create a Data Collector entry in the WISdom portal. This entry represents this installation within your WISdom environment.
- In a browser, navigate to Admin Console > Collection > Data Collectors.
- Click the + Data Collector button.

- Give the Data Collector a meaningful name (for example, the server hostname or site name). We recommend not adding servers in this section, adding them in the Resources page allows better configuration.
- Save the new Data Collector entry. It will appear in the list.
Step 9: Generate a Registration Key
With the Data Collector entry created, you can now generate the registration key that the installer needs.
- Find your new Data Collector in the list and click Generate Key in the Registration Key column.

Step 10: Copy the Registration Key
Once the key is generated, the button changes to Copy Key.
- Click Copy Key. The key is now on your clipboard.

Note: Registration keys are long, multi-line strings. Always use Copy Key rather than trying to select and copy the text to avoid errors manually.
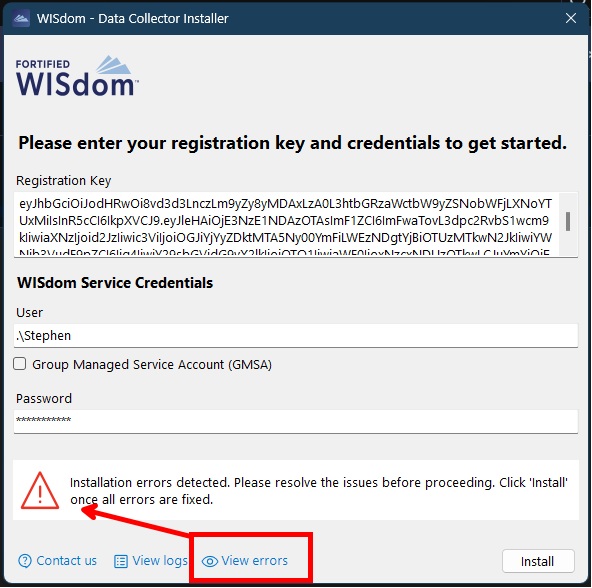
Step 11: Enter Your Registration Key and Service Credentials
Switch back to the WISdom Data Collector Installer window that you left open in Step 7.
- Click inside the Registration Key field and press Ctrl + V to paste the key you copied.
- In the User field, enter your Windows service account in
Domain\AccountNameformat. - Enter the account password in the Password field.
- If your organization uses a Group Managed Service Account (gMSA), check the Group Managed Service Account (GMSA) box instead of entering a password.
- Click Install.

Once credentials are validated, the installer communicates with the Fortified API and downloads the latest WISdom agent files. This may take a few minutes, depending on your network speed.
Troubleshooting: Credential Errors
If there is a problem with the credentials you entered, the installer will display an error banner at the bottom of the window.
- Click View errors to see the error details.
This opens a dialogue box with a friendly error message:
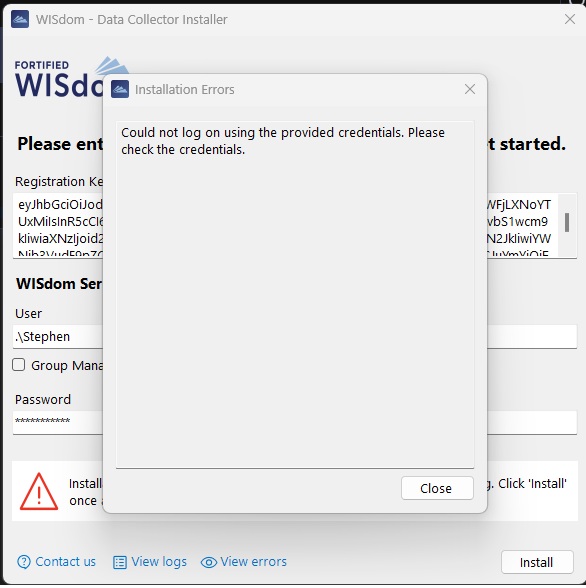
The most common errors at this stage are:
- Account requires Log on as Service — this permission is not granted to the service account during the installation
- Incorrect password — double-check the service account password and try again.
- Incorrect account format — ensure the account is entered as
Domain\AccountName. For local accounts, use.\AccountName. - Account does not have the required permissions — verify the service account meets the requirements in the WISdom Installation Requirements guide.
Once you have resolved the issue, click Install again to retry.
Step 12: Installation Complete
When installation is successful, you will see a confirmation screen with a green checkmark.
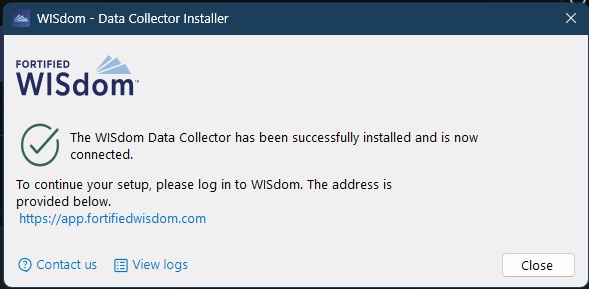
At this point, all services are configured and running, and all installation folders and files have been created. Your Data Collector is now live and connected to your WISdom environment.
- Click Close to exit the installer.
What's Next
With your Data Collector installed and connected, the next step is to add the SQL Server instances that WISdom should monitor. This tells WISdom which servers to collect data from and how to connect to them.
| Next Step | Description |
|---|---|
| Add Resources for Collection | Add the SQL Server instances you want to monitor, provide connection credentials, and confirm that WISdom can reach them. This is where you start seeing data in your dashboards. |
| Collector Health | Verify that your Data Collector is communicating successfully and review connection latency and status indicators. |
When the first WISdom Data Collector is installed and resources are set up for collections, the back-end client database will be configured in the Fortified Azure SQL environment. This can take up to about 10 minutes before you start to see any collected data in the WISdom UI.
If other errors are encountered, please contact Fortified support by submitting a support ticket via email: WISdomSupport@Fortified.com.