Overview
Setting up Microsoft Single Sign-On (SSO) in WISdom follows the same process as any other SSO integration from the WISdom side, but retrieving the required values from Microsoft Entra requires more steps than most identity providers. This page walks you through the Entra side of the configuration process.
To use Microsoft Entra as your identity provider with WISdom, you need to configure integration in both WISdom and in Entra. This involves:
- Creating an OIDC-compliant application in your Microsoft Entra account specifically for WISdom SSO.
- Creating WISdom SSO credentials for that application.
- Configuring that application to trust WISdom.
- Retrieving configuration values from the application to enter into WISdom.
WISdom SSO supports two authentication flows: Authorization Code and Authorization Code with PKCE (Proof Key for Code Exchange). The flow is selected during SSO configuration in WISdom. This guide covers the Entra configuration for the PKCE flow. Client Credentials flow is not supported.
Create a New Entra Application
- Log in to Azure and go to Entra.
- In the left navigation menu, choose Manage › App Registrations.
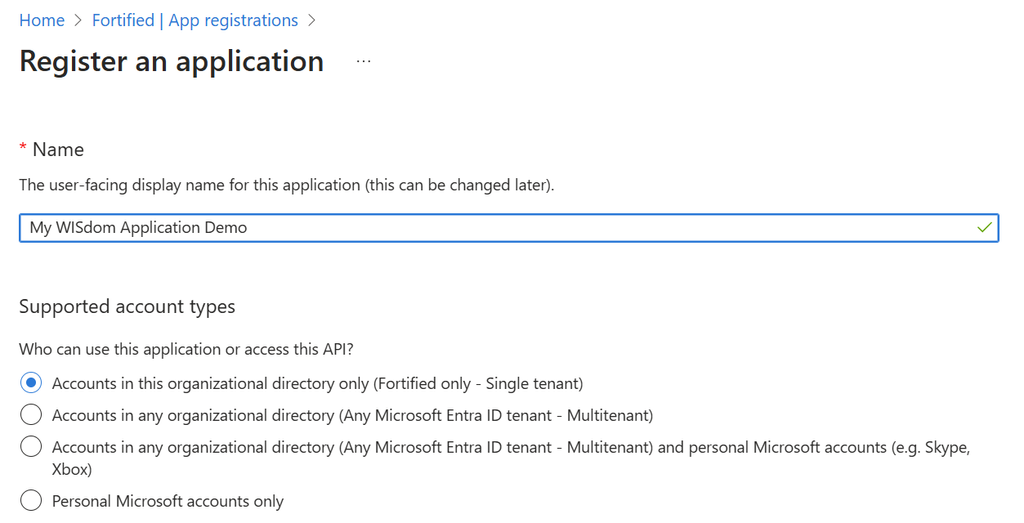
- Choose New Registration.
- Enter the name you want to use for this application.
Create Application Client Credentials
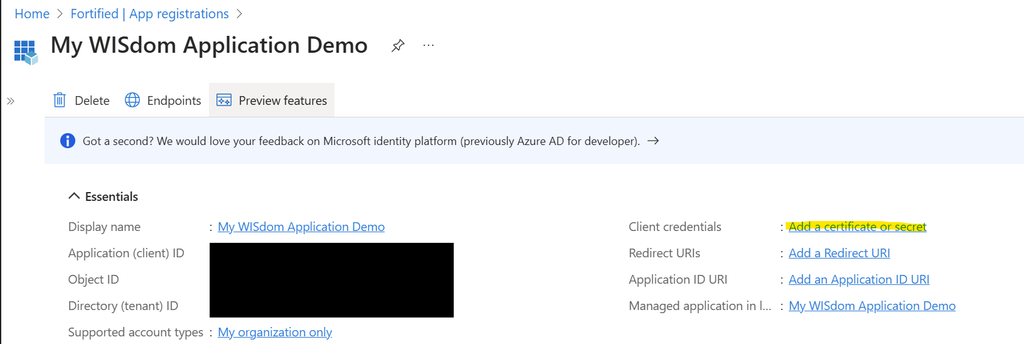
- On the main application page, choose Add a certificate or secret.
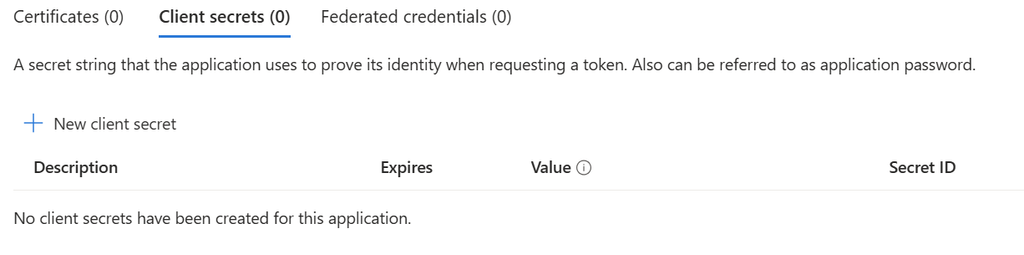
- Choose + New client secret.
- Enter a name for the secret and set an expiration.
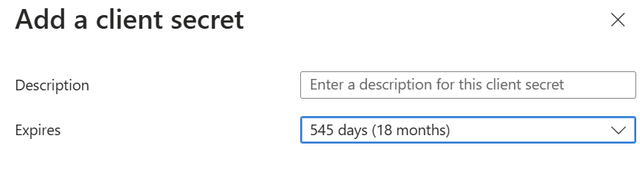
Choose an Expires value that conforms to your organization's standards, and make a note of when it will expire. The secret must be refreshed in WISdom before it expires to avoid disruptions to user access.
- Before navigating away, save the secret Value — this is your Client Credential Secret and is only visible at the time of creation. Also save the Secret ID — this is your Client Credential ID. You will enter both values when configuring SSO in WISdom.

Add WISdom Redirect URLs to Your Application
- Return to the application page and choose Add an Application ID URI.
- Choose Add a Platform.
- Select Web as the platform.
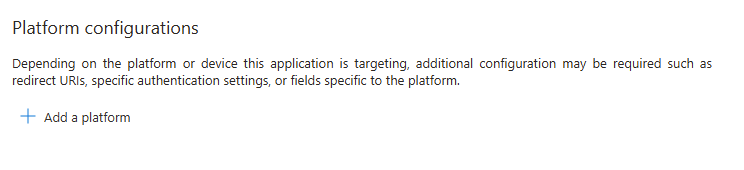
- Under Web › Redirect URIs, add the following URIs:
https://app.fortifiedwisdom.com/bff/v1/oauth/oidc-callbackhttps://app.fortifiedwisdom.com/login
- Under Front-channel logout URL, enter:
https://app.fortifiedwisdom.com/logout
- Click Save.
Retrieve Application Values to Configure SSO in WISdom
- On the application page, choose Endpoints.
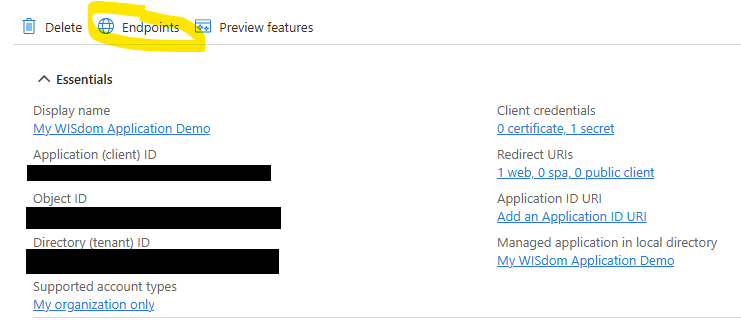
- Copy the OpenID Connect metadata document URL and open it in a new browser tab.
- From the metadata document, copy the following values:
| Field in WISdom | Metadata document key |
|---|---|
| Public Key URL | jwks_uri |
| Token URL | token_endpoint |
| Authentication URL | authorization_endpoint |
| Token Issuer | issuer |
- Enter these values — along with your Client Credential ID and Secret — into your WISdom SSO configuration.
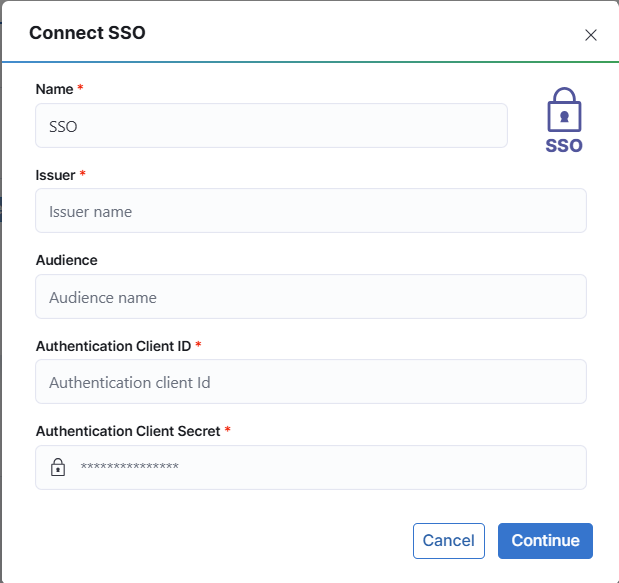
The Audience field in WISdom is optional. If used, the value comes from the aud field of the JWT.